MikroTik Router Setup Guide
Step-by-step MikroTik router setup guide for Kenya covering WAN, LAN, Wi-Fi, DHCP, firewall, DNS, VPN, updates, and secure RouterOS basics.
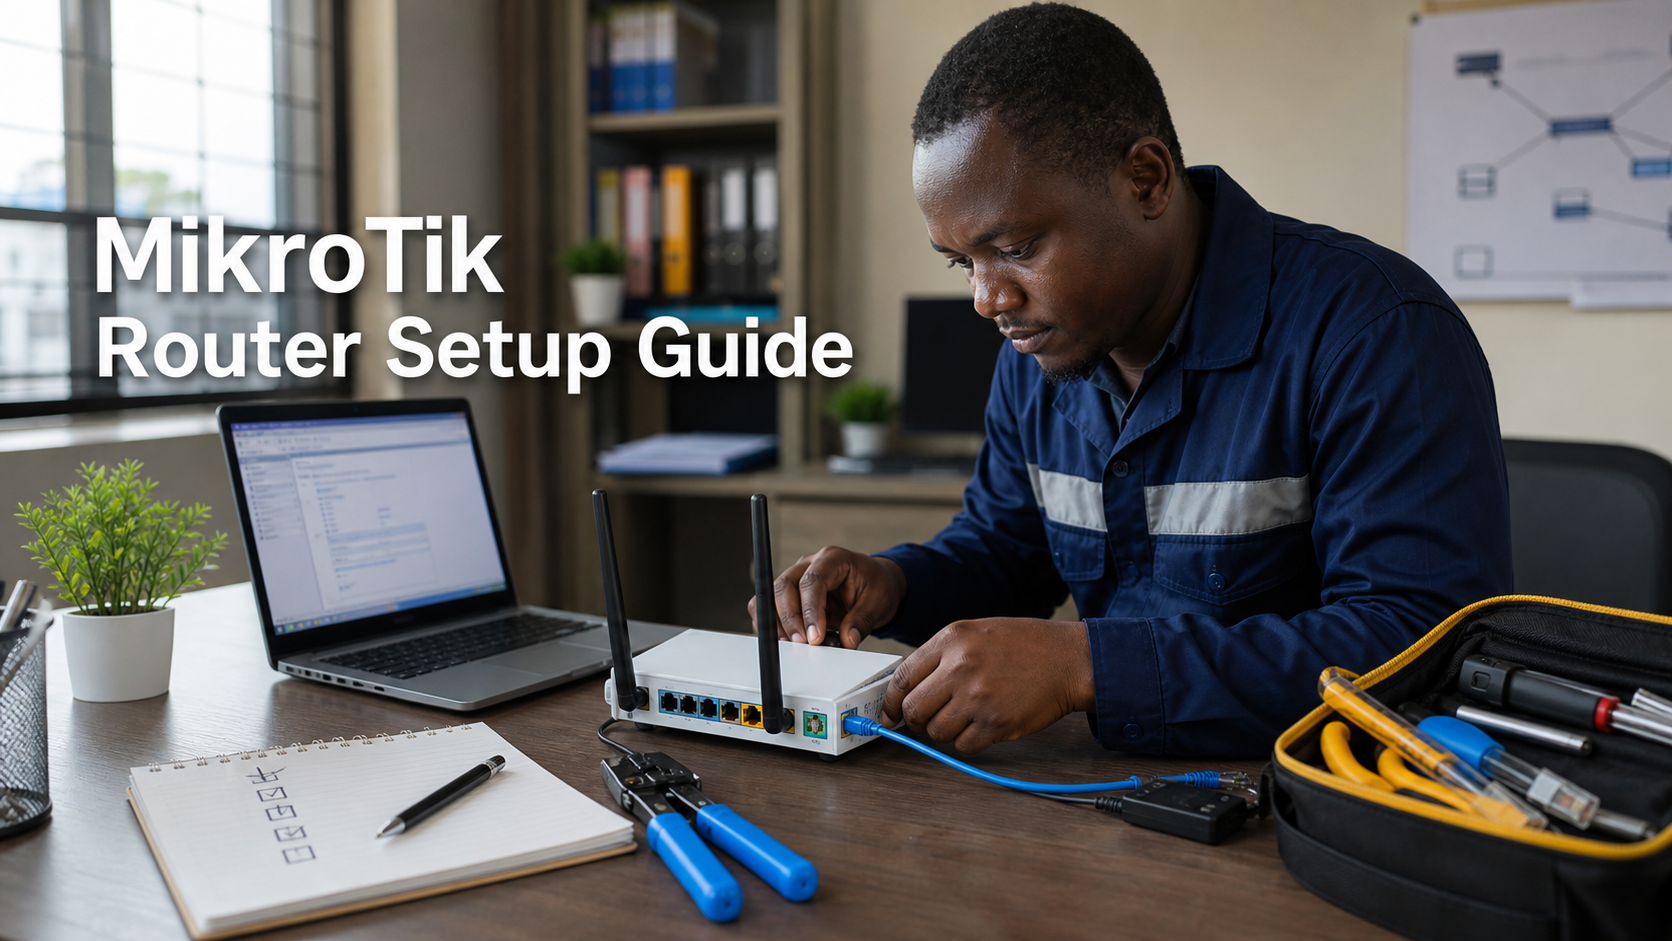
MikroTik Router Prices in Kenya
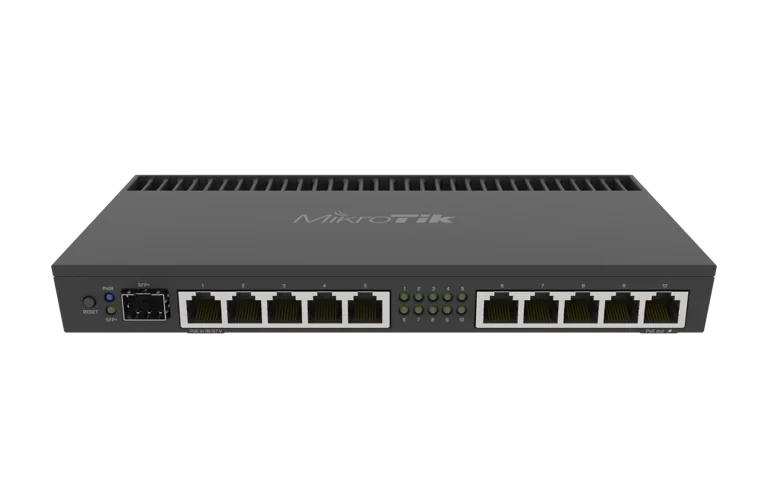
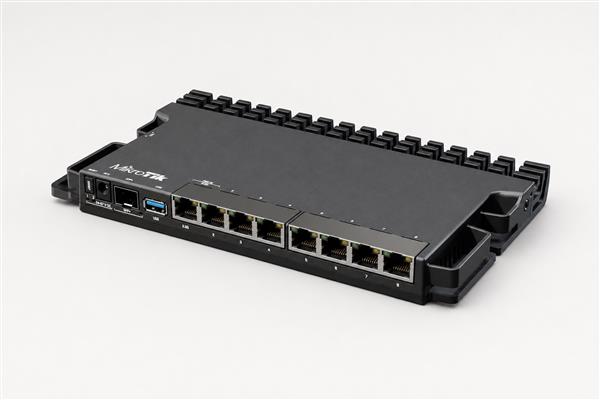
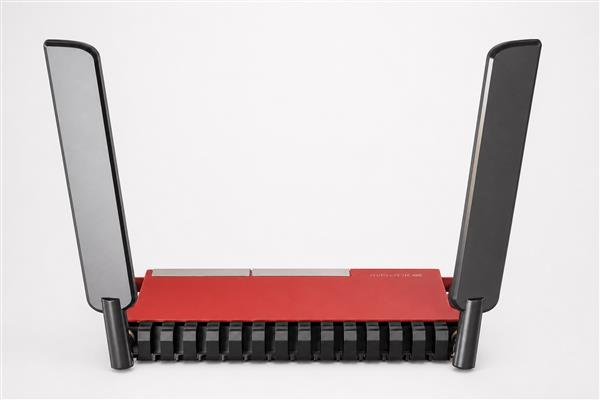
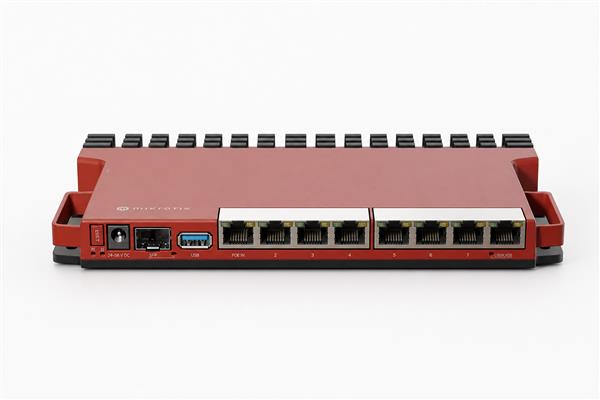
MikroTik Router Setup Guide
This MikroTik Router Setup Guide is written for homes, offices, hotels, schools, cyber cafes, and small ISPs in Kenya. MikroTik RouterOS gives deep control, but the first setup must be done carefully so the network is fast, stable, and secure.
Basic Setup Checklist
- Update RouterOS and firmware before going live.
- Change the default admin username or password and disable unused services.
- Set the WAN interface from the ISP modem, fiber ONT, or Starlink adapter.
- Create the LAN bridge, IP address, DHCP server, and DNS settings.
- Add NAT masquerade so users can access the internet.
- Enable baseline firewall rules to block unwanted access from the WAN.
- Create Wi-Fi, VLAN, hotspot, or VPN settings only after the basic network is stable.
- Save an export and backup file after testing.
Common Setup Mistakes
Many MikroTik issues come from weak firewall rules, exposed WinBox access, overlapping DHCP servers, unmanaged VLANs, or old RouterOS versions. If the router will support payment systems, CCTV, VoIP, or business applications, segmenting the network with VLANs is strongly recommended.
When to Request Professional Setup
Professional MikroTik configuration is useful when the network needs multi-WAN failover, site-to-site VPN, PPPoE, hotspot billing, bandwidth queues, guest isolation, or advanced firewall policies. A correct setup saves time and reduces outages.
MikroTik Topic Cluster
Use these related MikroTik resources to compare models, understand RouterOS features, and choose the right MikroTik network equipment for Kenya.
- MikroTik Router Prices in Kenya
- MikroTik Router Kenya
- MikroTik Router Price List Kenya
- RouterOS Explained
- MikroTik VPN Setup
- MikroTik Firewall Guide
- MikroTik Router Reviews
- Best MikroTik Router for Business
- Best MikroTik Router for Home
- MikroTik Accessories
- MikroTik Switches
- MikroTik Wireless Access Points
- MikroTik Accessories in Kenya
- MikroTik Switches in Kenya
- MikroTik Access Points in Kenya