Starlink Activation
Discover the Starlink activation process Learn how to set up, troubleshoot, and optimize your Starlink connection for fast, reliable internet in Kenya.

Products Available


Table of Contents
Starlink Activation: How to Set Up and Optimize Your Starlink Internet in Kenya
Starlink activation refers to the process of setting up and enabling your Starlink internet service, allowing it to connect to SpaceX’s satellite network for high-speed, low-latency internet. This involves configuring the Starlink dish, router, and app to ensure seamless connectivity. Proper activation ensures that your system functions optimally, providing uninterrupted internet access across Kenya, whether for home, business, or mobile use.
A successful activation is crucial for maximizing Starlink’s performance. Poor setup, obstructions, or incorrect configurations can lead to weak signals, slow speeds, or frequent disconnections. Ensuring a clear line of sight to the sky and following the correct setup steps will help you get the best experience. This guide will walk you through every step, troubleshooting tips, and optimization strategies to enhance your connection.
Orbitlink Solutions, a leading Starlink provider in Kenya, is committed to making Starlink setup easy and hassle-free. This guide covers everything from activation requirements and step-by-step installation to resolving common issues and optimizing your network. Whether you are a first-time user or looking to fine-tune your setup, this comprehensive guide will ensure you get the most out of your Starlink service.
1. Understanding Starlink Activation

Starlink activation is the process of setting up your Starlink hardware and enabling internet connectivity through SpaceX’s satellite network. This process ensures that your device properly communicates with orbiting satellites to provide high-speed, low-latency internet. A smooth activation is crucial for uninterrupted service, whether for residential, business, or mobile use.
1.1 What is Starlink Activation?
Starlink activation involves configuring and setting up your Starlink Kit to establish a direct connection with SpaceX’s satellite constellation. This includes:
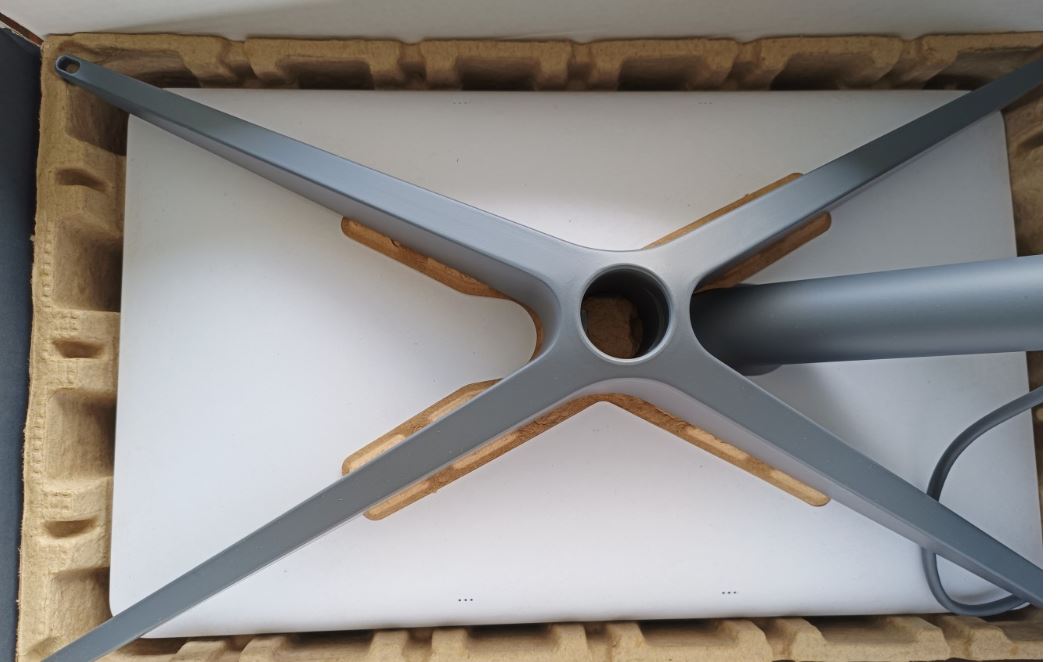
- Unboxing and assembling the Starlink dish, router, and cables.
- Positioning the dish in a location with a clear, unobstructed view of the sky.
- Connecting the system to a power source and verifying signal reception via the Starlink app.
- Completing activation through the Starlink app to link your account with the device.
Proper activation ensures your system is fully operational and can maintain a stable satellite connection for optimal performance.
1.2 Requirements for Activating Starlink in Kenya
To activate Starlink in Kenya, you need:
Essential Hardware:
- Starlink Kit: Includes the satellite dish, router, power supply, and necessary cables.
- Mounting Equipment (if needed): For securing the dish to rooftops or poles.
Additional Requirements:
- A Stable Power Source: Ensure a reliable electricity supply to avoid disconnection.
- Internet Connection (Optional): Some users prefer an initial Wi-Fi connection for the app setup.
- A Clear View of the Sky: Avoid obstructions like trees, buildings, or power lines for uninterrupted satellite reception.
1.3 Types of Starlink Kits and Their Activation Differences
Starlink offers different kits designed for various needs, each with slight variations in activation and setup.
1. Standard Kit (Residential & Small/Medium-Sized Businesses)
- Best for: Home users and small to mid-sized businesses.
- Activation Process: Simple plug-and-play setup using the Starlink app.
- Performance: Reliable for general use with moderate speeds and network priority.
2. Standard Actuated Kit (Residential)
- Best for: Home users who require automatic dish movement.
- Activation Process: Similar to the standard kit but features a motorized dish that adjusts itself for better satellite alignment.
- Performance: Improved connectivity due to automatic dish realignment.
3. High Performance Kit
- Best for: Businesses, heavy data users, and remote areas with high network demands.
- Activation Process: Requires additional setup, including mounting and professional installation (recommended).
- Performance: Higher antenna sensitivity, better speeds, and improved connectivity in extreme weather conditions.
4. Flat High Performance Kit (For Vehicles & Marine Use)
- Best for: Moving vehicles, RVs, yachts, and marine applications.
- Activation Process: Requires a specialized flat-mounted installation for mobile use.
- Performance: Continuous connectivity while in motion, optimized for travel and marine conditions.
5. Starlink Mini (Roaming, Camping, & Small Households)
- Best for: Portable users, campers, and small households needing minimal bandwidth.
- Activation Process: Simple plug-and-play with the Starlink app. Compact and lightweight for easy transport.
- Performance: Lower power consumption, compact design, and optimized for temporary or low-usage locations.
6. Enterprise Kits (Businesses & Large Enterprises)
- Best for: Large organizations requiring dedicated bandwidth and high uptime.
- Activation Process: Professional installation recommended, with dedicated network configuration.
- Performance: Highest network priority, better speeds, and the ability to support multiple users seamlessly.
Each Starlink kit comes with unique activation steps tailored to its intended use. Selecting the right one ensures the best experience based on your specific connectivity needs.


3. Common Issues During Activation & How to Fix Them
While Starlink activation is generally straightforward, users may encounter some common issues that affect connectivity, speed, or activation delays. Below are troubleshooting steps to resolve these problems efficiently.
3.1 No Signal or Weak Signal Issues

A weak or no signal error often results from obstructions or poor dish placement.
Ensuring a Clear Line of Sight to the Sky
- Starlink requires an unobstructed view of the sky to maintain a strong connection with satellites. If there are trees, buildings, or other obstacles, move the dish to a higher or more open location.
- Use the Starlink App’s Obstruction Tool – The app allows you to scan the sky and check for potential signal disruptions.
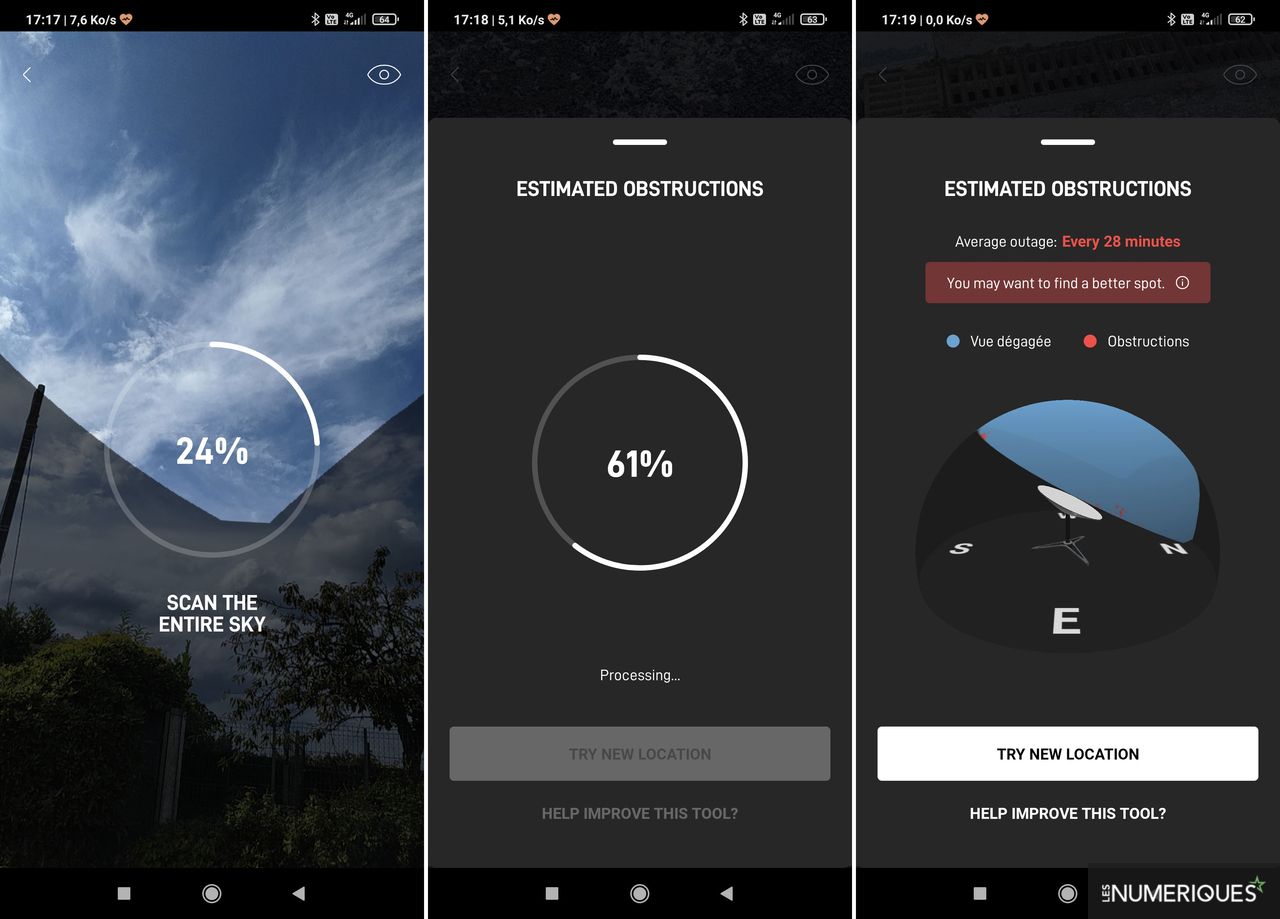
Using the Starlink App to Check for Obstructions
- Open the Starlink App and go to the “Check for Obstructions” tool.
- Scan the area by pointing your phone’s camera towards the sky.
- If the app detects obstructions, reposition your dish to a clearer spot.
If moving the dish doesn’t help, consider installing it on a rooftop or pole mount for improved signal reception.
3.2 Slow Internet Speeds After Activation

After activation, some users may experience slow speeds due to network prioritization or poor Wi-Fi signal distribution.
Understanding Starlink’s Network Prioritization
- Starlink prioritizes Business and Enterprise users over Residential and Roaming users, which may affect speeds during peak hours.
- Weather conditions, such as heavy rain or storms, can temporarily impact performance.
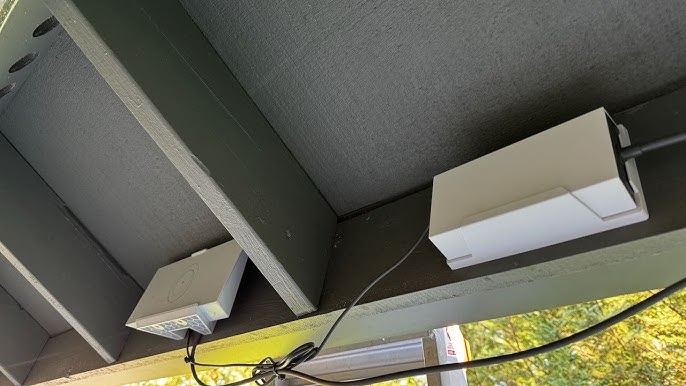
Optimizing Router Placement for Better Wi-Fi Coverage
- Place the router in a central location within your home or office to ensure even Wi-Fi distribution.
- Avoid placing the router near thick walls, metallic surfaces, or electronic devices that may interfere with the signal.
- Consider using a Wi-Fi extender or mesh network system if your home has multiple rooms or floors.
Running a speed test through the Starlink app can help determine whether the issue is with satellite connectivity or local Wi-Fi coverage.
3.3 Activation Delays & Connectivity Problems
Some users may experience delays in activation due to system syncing or connectivity issues.
Waiting for Starlink Satellites to Connect
- After setting up your dish, it may take up to 15 minutes for Starlink to establish a stable connection.
- During this period, avoid turning off or unplugging the dish.
Rebooting and Troubleshooting the System
If activation takes too long:
- Power Cycle the Starlink System – Unplug the router and dish for 2 minutes, then plug them back in.
- Check for Firmware Updates – The Starlink app will notify you if any software updates are required.
- Factory Reset (Last Resort) – If issues persist, reset your Starlink system through the app and restart the setup process.
By following these troubleshooting steps, users can quickly resolve activation issues and enjoy a seamless Starlink internet experience.
4. Activation for Different Starlink Packages in Kenya

Starlink offers different service packages tailored to various user needs, including residential, business, and mobile/marine applications. Each package has a slightly different activation process depending on the equipment and intended use. Below is a breakdown of how to activate Starlink for different user categories.
4.1 Residential & Roaming Activation
The Residential and Roaming Starlink packages are ideal for home users and travelers who need internet in fixed or multiple locations.
Standard Setup for Homes and Travel Users
-
Unbox and Set Up the Starlink Kit
- Connect the dish, router, and power cables following the user manual.
- Ensure the dish is placed in an open area with a clear view of the sky.
-
Connect to Power and Network
- Plug in the power adapter and ensure all connections are secure.
-
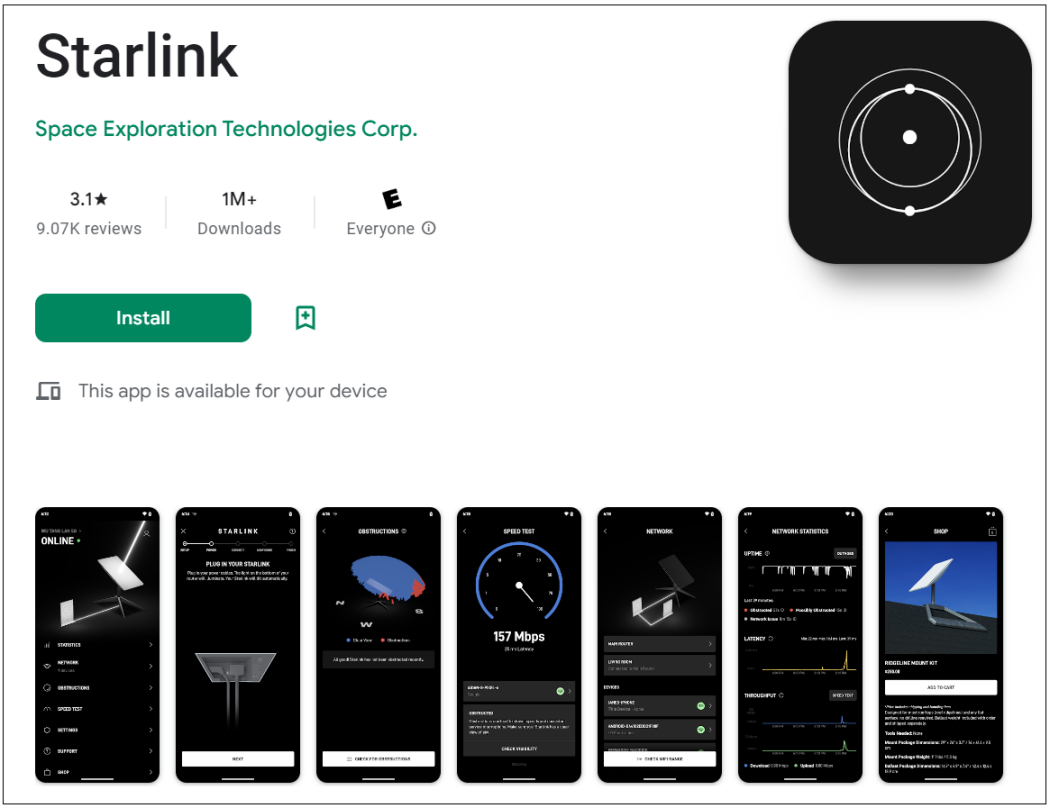
Use the Starlink App for Activation
- Download and install the Starlink app from the App Store or Google Play.
- Follow the app's setup instructions to detect satellites and establish an internet connection.
-
Roaming Feature (For Travelers & Campers)
- Users with Starlink Roam (formerly Starlink for RVs) can activate their kit the same way.
- The dish automatically connects to satellites but may take longer in new locations.
This setup works best for households, digital nomads, and frequent travelers who need reliable internet anywhere.
4.2 Business & Enterprise Activation
Business and Enterprise users get dedicated bandwidth, lower latency, and priority access over residential users. The activation process is similar to residential Starlink but requires additional configuration.
Dedicated Bandwidth and Priority Connectivity Setup
-
Install the High-Performance Dish
- Businesses often use the High-Performance Kit for better connectivity.
- The dish should be installed on a stable rooftop or mast for an optimal signal.
-
Connect Enterprise-Grade Networking Equipment
- Enterprise users can integrate Starlink with their existing routers, VPNs, and mesh networks for better internal connectivity.
- Businesses with multiple offices may need custom networking solutions.
-
Activate and Optimize via the Starlink App
- Use the Starlink app to set up, monitor performance, and troubleshoot connectivity issues.
- Enterprise users can access additional network management features through the Starlink dashboard.
This activation process suits corporate offices, large businesses, and organizations needing high-speed, uninterrupted internet.
4.3 Mobile & Marine Activation (Flat High-Performance Kit)
For vehicles, boats, and moving setups, the Flat High-Performance Kit is designed to maintain connectivity even in motion.
Activation Process for On-the-Move Use Cases
-
Install the Flat High-Performance Dish
- This dish is permanently mounted on vehicles, boats, or RVs.
- Unlike standard kits, it does not require repositioning and connects while moving.
-
Ensure Power Supply & Connectivity
- Vehicles and marine setups may require DC power converters or specialized mounting brackets.
- Ensure all cables are properly secured to prevent disconnections.
-
Activate via the Starlink App
- The Starlink app will guide users through setup and alignment.
- For marine users, ensure the dish is clear of masts, antennas, or obstructions.
This activation process is ideal for truckers, boaters, emergency responders, and travelers needing constant connectivity.
By following these activation steps, users can set up the right Starlink package for their needs, whether at home, in a business setting, or on the move.
5. Starlink Activation Costs in Kenya

Activating Starlink in Kenya involves both an initial investment in hardware and ongoing monthly subscription costs. Additionally, some users may opt for priority activation services, depending on their needs. Below is a detailed breakdown of Starlink activation costs and purchasing options in Kenya.
5.1 How Much Does Starlink Activation Cost?
The total cost of Starlink activation depends on the type of kit purchased and the chosen subscription plan.
Breakdown of Initial Purchase Costs
- Starlink Standard Kit (Residential & Roaming) – KES 55,000 (~USD 365)
- Starlink Standard Actuated Kit – KES 45,500 (~USD 305)
- Starlink High-Performance Kit – KES 220,000 (~USD 1,460)
- Starlink Flat High-Performance Kit (Mobile & Marine) – KES 350,000 (~USD 2,325)
- Starlink Mini – KES 32,000 (~USD 215)
- Starlink Enterprise Kit – Prices vary based on business requirements.
Monthly Subscription Plans & Potential Activation Fees
- Residential Plan – from KES 1,300 (~USD 9) per month
- Roaming Plan – KES 7,000 (~USD 54) per month
- Business & Enterprise Plans – From KES 7,000 (~USD 54) per month
- Mobile & Marine Plans – From KES 35,000 (~USD 230) per month
There are no official activation fees from Starlink, but professional installation services may be required for enterprise and marine users.
5.2 Are There Extra Fees for Faster Activation?
Starlink activation times typically range from a few minutes to 24 hours, but some users may need expedited activation.
Standard vs. Priority Activation for Business Users
- Standard Activation – Included in the purchase; customers activate their kit via the Starlink app.
- Priority Activation (for businesses and enterprises) – Some resellers and service providers offer expedited setup and configuration at an additional cost, ranging from KES 5,000 to KES 20,000 (~USD 35 to USD 135), depending on complexity.
Enterprises that need immediate internet access may opt for pre-configured Starlink kits from authorized distributors.
5.3 Where to Buy an Officially Activated Starlink Kit in Kenya
To avoid delays and ensure a hassle-free activation process, it is recommended to purchase from an authorized Starlink reseller.
Orbitlink Solutions: Your Trusted Starlink Provider in Kenya
Orbitlink Solutions is a verified Starlink reseller in Kenya, offering:
Genuine Starlink Kits with official warranties
Fast Delivery & Installation Services
Expert Support for Setup & Activation
By purchasing from Orbitlink Solutions, users can ensure they receive a fully activated and properly configured Starlink service.
7. Frequently Asked Questions (FAQs) About Starlink Activation

1. What does Starlink Activation mean, and why is it necessary?
Starlink Activation refers to the process of setting up and connecting your Starlink kit to SpaceX’s satellite network. This activation is essential because it allows your dish to communicate with orbiting satellites, enabling high-speed internet access. Without proper activation, the system will not function.
2. How long does it take to complete Starlink Activation in Kenya?
The Starlink Activation process typically takes 10 to 30 minutes once the dish is properly set up and powered on. However, if there are network congestion issues or firmware updates, activation may take up to a few hours. In rare cases, it can take 24 hours if Starlink satellites need to adjust coverage.
3. Do I need an internet connection to complete Starlink Activation?
No, Starlink Activation does not require a separate internet connection. However, you will need to download the Starlink app (available on Android and iOS) to guide you through the activation steps. If you don’t have mobile data, consider downloading the app before setting up.
4. What should I do if Starlink Activation fails or takes too long?
If the Starlink Activation process is stuck or fails, try these troubleshooting steps:
Check for Obstructions – Use the Starlink app’s obstruction tool to ensure the dish has a clear sky view.
Reboot the System – Unplug the Starlink router and power supply for 5 minutes, then reconnect.
Wait for Satellite Coverage – If in a remote area, activation may take longer as satellites adjust coverage.
Check for Firmware Updates – Starlink may update its system during activation, causing temporary delays.
Move to a Better Location – Relocating the dish to a higher or clearer spot can improve signal reception.
5. Does Starlink Activation require a SIM card or mobile network?
No, Starlink Activation does not rely on SIM cards or mobile networks. Starlink operates independently using satellite signals, making it ideal for rural and remote areas where traditional ISPs are unavailable.
6. Can I activate my Starlink kit in one location and use it elsewhere in Kenya?
Yes, but it depends on your Starlink package:
- Residential Plan – Best for fixed locations. Moving to a new area may require address updates.
- Roaming & Starlink Mini – Allows activation in one place and usage across different locations.
- Business & Enterprise Plans – Designed for multi-location use, ensuring priority connectivity.
- Flat High-Performance Kit – Used for vehicles and marine travel, requiring a roaming-enabled plan.
To avoid deactivation issues, ensure that your Starlink Activation location matches your registered service area.
7. How much does Starlink Activation cost in Kenya?
The cost of Starlink Activation in Kenya depends on the plan and hardware:
- Starlink Kit Price – KES 45,500 ($350) (Includes dish, router, cables, and power supply)
- Monthly Subscription – KES 14,000 ($99) for residential users
- Business & Enterprise Plans – Start from KES 21,000+ ($160+) per month
- Priority Activation for Business Users – May include an additional setup fee
There are no hidden activation fees, but purchasing through an official reseller like Orbitlink Solutions ensures immediate activation and customer support.
8. Can I activate a second-hand Starlink kit in Kenya?
Yes, but with conditions:
- The previous owner must deactivate the kit from their Starlink account.
- You must register the device under your own account via the Starlink website or app.
- If the kit is still linked to another account, Starlink Activate will fail, requiring assistance from customer support.
For a hassle-free experience, it’s recommended to buy from authorized resellers like Orbitlink Solutions, which provide pre-activated kits ready for use.
Conclusion

Activating your Starlink kit is the first step toward enjoying high-speed satellite internet in Kenya. A proper activation ensures seamless connectivity to SpaceX’s satellite network, delivering reliable and fast internet even in the most remote locations. Whether for home, business, or travel, completing the Starlink Activate process correctly maximizes performance and minimizes connectivity issues.
For a hassle-free activation experience, Orbitlink Solutions is your trusted provider in Kenya. As an authorized Starlink reseller, Orbitlink ensures you get a genuine, pre-activated Starlink kit, along with professional setup support and troubleshooting assistance. Whether you're setting up Residential, Roaming, or Enterprise Starlink, Orbitlink makes the process quick and efficient.
Don't wait to experience unmatched internet speeds—get your Starlink kit activated today! Visit Orbitlink Solutions to purchase your kit and enjoy seamless satellite internet connectivity across Kenya.