How to Configure a MikroTik Router in Kenya
Learn how to configure a MikroTik router in Kenya with this step-by-step guide covering setup, DHCP, PPPoE, wireless, firewall, and bandwidth management fo

MikroTik Router Prices in Kenya
How to Configure a MikroTik Router in Kenya: A Complete

If you have just bought a new device or you are troubleshooting an existing one, learning how to configure a MikroTik router in Kenya is one of the most useful networking skills you can pick up. MikroTik routers power a huge share of home networks, offices, cyber cafés, and even ISPs across the country, thanks to their affordability, flexibility, and enterprise-grade features that are normally found only in far more expensive equipment.
This guide walks you through the entire process of how to configure a MikroTik router in Kenya, from unboxing to setting up internet access, wireless networks, security, and bandwidth control. Whether you are a home user, a small business owner, or an IT technician setting up a client's network, these steps will get your router fully operational.
Why MikroTik Routers Are So Popular in Kenya
MikroTik has become the go-to brand for networking in Kenya for a few clear reasons. The routers are significantly cheaper than comparable Cisco or Ubiquiti equipment, yet they run RouterOS, a powerful operating system that supports advanced routing, firewall rules, VPNs, bandwidth shaping, and hotspot billing systems. This makes MikroTik ideal for the realities of the Kenyan market, where internet service providers, estate Wi-Fi operators, and businesses often need to manage bandwidth carefully, authenticate multiple users, and keep costs down.
Because so many Kenyan ISPs deploy MikroTik at the customer edge, learning to configure one yourself can save you the cost and wait time of hiring a technician for basic changes.
What You Need Before You Start
Before you configure a MikroTik router in Kenya, gather the following:
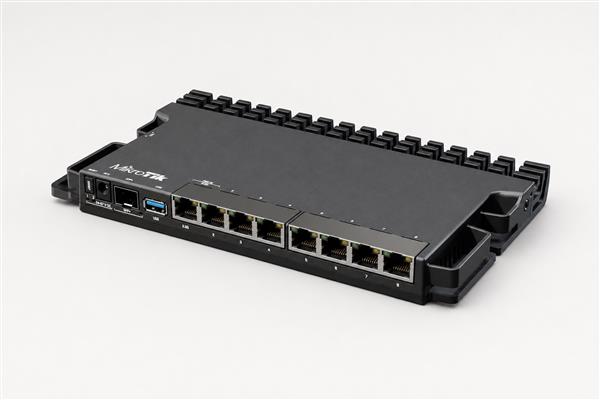
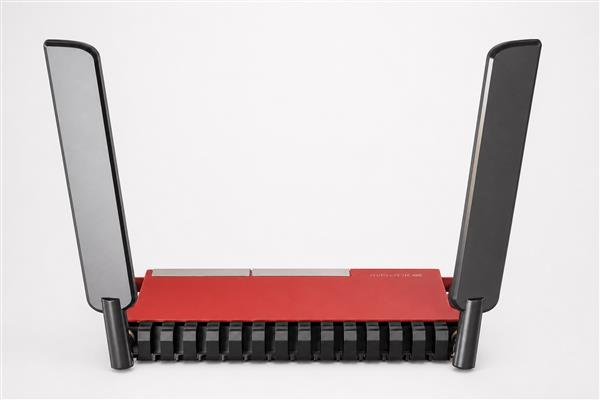
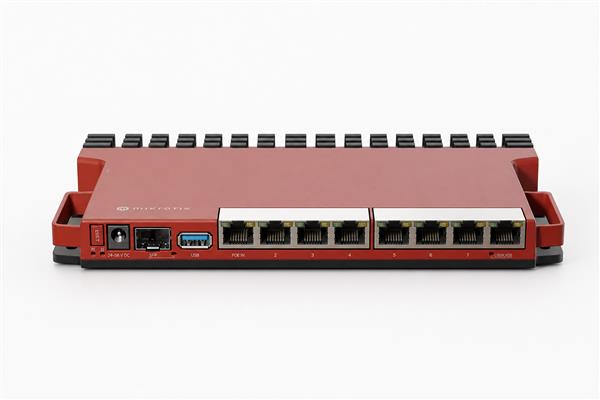
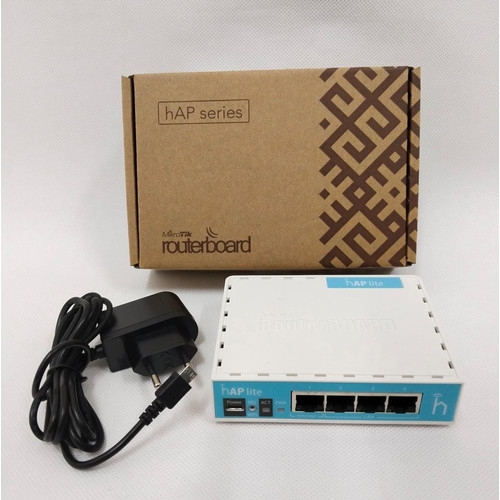
- A MikroTik router or access point (such as the hAP series, RB series, or a MikroTik wireless access point). If you do not already own one, you can browse current MikroTik access point prices in Kenya to find a model that matches your budget and coverage needs.
- A laptop or PC with an Ethernet port (recommended for the initial setup instead of Wi-Fi).
- An Ethernet cable to connect your computer to the router.
- Your internet connection details from your ISP — this typically includes a PPPoE username and password, or a static IP/DHCP configuration, depending on how your provider connects you. If you are setting up a new fiber connection, providers such as Fiber Optics Kenya can confirm the exact connection type your installation uses.
- The Winbox utility, which is the easiest way to configure a MikroTik router. It is a free download from MikroTik's official website and runs on Windows (or via Wine/emulation on Mac and Linux).
Step-by-Step: How to Configure a MikroTik Router in Kenya
Step 1: Connect the Router
Plug the MikroTik router into a power source and connect your computer to one of its LAN ports using an Ethernet cable. Leave the WAN/internet port for your ISP's cable, but do not connect it yet if this is a completely fresh setup — it is easier to configure the basics first.
Step 2: Access the Router With Winbox
Open Winbox on your computer. It will scan and display any MikroTik devices on the network under the "Neighbors" tab, showing the router's MAC address. Click on it and log in using the default credentials (usually the username admin with no password, unless the device came pre-configured by a reseller). You can also access the router through a web browser using WebFig at the router's default IP address, usually 192.168.88.1.
Step 3: Run the Quick Set Wizard (Optional but Useful)
Most MikroTik routers include a "Quick Set" tab in Winbox that lets you choose a router mode (Home AP, CPE, WISP AP, and so on) and fill in basic internet and Wi-Fi details in one screen. This is a fast option for straightforward home setups, but for full control — especially in business or ISP environments — it is worth understanding the manual configuration steps below.
Step 4: Reset to a Clean Configuration (If Needed)
If the router previously belonged to someone else or was preconfigured by a shop, it is good practice to reset it to factory defaults via System > Reset Configuration, then set up everything from scratch so you fully understand and control the settings.
Step 5: Configure the WAN (Internet) Interface
Go to Interfaces and identify which port will connect to your ISP's modem or fiber ONT. How you configure this depends on how your ISP delivers internet:
- PPPoE connections (common with many Kenyan fiber and DSL providers): Go to PPP > Interface > PPPoE Client, select the WAN interface, and enter the username and password provided by your ISP.
- DHCP client connections: Go to IP > DHCP Client, add the WAN interface, and the router will automatically pull an IP address from your ISP.
- Static IP connections: Go to IP > Addresses and manually enter the IP address, subnet, and gateway supplied by your provider.
If you are unsure which method your connection uses, your internet provider — for example, Fiber Optics Kenya for fiber installations — can confirm the correct settings for your line.
Step 6: Set Up the LAN and DHCP Server
Go to IP > Addresses and assign an internal IP range to your LAN interface (for example, 192.168.1.1/24). Then go to IP > DHCP Server and run the DHCP setup wizard on the LAN interface so that devices connecting to your network automatically receive an IP address, gateway, and DNS server.
Step 7: Configure NAT (Masquerading)
For your LAN devices to reach the internet using the WAN connection, you need Network Address Translation. Go to IP > Firewall > NAT, add a new rule with chain srcnat, set the out interface to your WAN interface, and set the action to masquerade. Without this step, devices on your network will not be able to browse the internet even if the WAN connection itself is working.
Step 8: Set Up Wireless (If Using a Wireless Model or Access Point)
If your device has a wireless interface, go to Wireless > WiFi Interfaces, enable the interface, set your SSID (network name), choose a secure protocol (WPA2/WPA3), and set a strong password. For larger homes, offices, or estates in Kenya where a single router does not cover the whole area, pairing your router with a dedicated MikroTik access point extends reliable coverage — you can compare available options and current MikroTik access point prices in Kenya before adding one to your setup.
Step 9: Configure the Firewall for Security
RouterOS ships with a basic firewall, but it is worth reviewing IP > Firewall > Filter Rules to ensure your router blocks unsolicited inbound traffic while allowing established and related connections. At minimum, keep the default "drop invalid" and "accept established/related" rules in place, and avoid exposing the Winbox or WebFig management ports to the public internet unless absolutely necessary.
Step 10: Set Up Bandwidth Management (Optional but Recommended)
Given how many Kenyan homes and offices share a single internet connection across multiple users, configuring Simple Queues or Queue Trees under Queues helps you allocate fair bandwidth to each device or user group, preventing one heavy user from slowing down everyone else.
Step 11: Back Up Your Configuration
Once everything works as expected, go to Files or use the Export command in the terminal to save a backup of your configuration. This means that if the router ever needs to be reset or replaced, you can restore your exact settings in minutes rather than starting over.
Where to Buy MikroTik Routers and Accessories in Kenya
If you are shopping for a new device before you begin configuration, or need to upgrade an aging router, several Kenyan suppliers stock genuine MikroTik equipment with local warranty support. MikroTik Kenya offers a wide marketplace selection of routers, switches, and wireless access points suited to homes, businesses, schools, and ISPs. For side-by-side price comparisons on routers specifically, Orbitlink Solutions' MikroTik router price list is a useful resource covering everything from entry-level home routers to enterprise-grade models. Buying locally also means faster access to replacement units and technical support if you run into configuration issues.
Common MikroTik Configuration Mistakes to Avoid
Many first-time users in Kenya run into the same handful of problems. Forgetting to add a NAT masquerade rule is one of the most common — the internet connection works on the WAN side, but no LAN device can browse. Another frequent issue is leaving the default admin password blank or unchanged, which leaves the router exposed to attacks, especially if remote access is enabled. Users also sometimes configure DHCP and static IP addressing on the same interface, which causes IP conflicts on the network. Finally, skipping the configuration backup step means that a simple firmware upgrade gone wrong, or an accidental factory reset, can wipe out hours of setup work.
Frequently Asked Questions
What is the default IP address of a MikroTik router? Most MikroTik routers default to 192.168.88.1, with the default username "admin" and no password, unless a reseller has already configured it.
Do I need Winbox, or can I configure a MikroTik router from a phone? Winbox on a computer gives you full access to every setting, but MikroTik also offers WebFig (browser-based) and a mobile app for basic changes on the go.
Can I use a MikroTik router with any ISP in Kenya? Yes. MikroTik routers support PPPoE, DHCP, and static IP connections, which covers the vast majority of Kenyan ISPs, including major fiber providers.
How do I reset a MikroTik router to factory settings? Use System > Reset Configuration in Winbox, or hold the physical reset button on the device for several seconds during power-up, depending on the model.
Is it worth adding a dedicated access point instead of relying on the router's built-in Wi-Fi? For larger homes, offices, or multi-floor buildings, yes — a dedicated access point generally provides stronger, more reliable coverage than a router's built-in antenna.

Final Thoughts
Configuring a MikroTik router in Kenya is very manageable once you understand the core steps: connecting via Winbox, setting up your WAN connection to match your ISP, configuring LAN and DHCP, enabling NAT, securing the firewall, and setting up wireless access. With RouterOS's flexibility, the same skills scale from a simple home network to a fully managed small business or ISP deployment. If you need hardware to get started or to expand your current setup, local suppliers such as MikroTik Kenya and Orbitlink Solutions stock a range of routers and access points to suit different budgets and use cases.